Tool settings
Manage branding, organisation, season, regional formats, login sources, interfaces, webhooks, modules, upload rules and the mail account
Tool settings under System → Tool Settings define Artwork's basic appearance and technical framework. All tabs require the permission Tool settings. There are three special cases:
- The webhook section of the Interfaces tab also opens with the standalone permission Manage webhooks.
- In the Mail tab only artwork admins may save and send test emails.
- In the External User Management tab only artwork admins may add, change and delete sources.
Coordinate changes with internal IT and, for login sources or interfaces, the respective system owners.
Tabs and installed version
The page has eight tabs in this order: Branding, External User Management, Communication & Legal, Regional formats, Interfaces, Module visibility, File settings and Mail.
Below the title, the page header shows the Installed version of your artwork installation. The Changelog link next to it opens the entry for this version in the manual. If the changelog lists a newer version, it has not been installed for you yet.
Branding
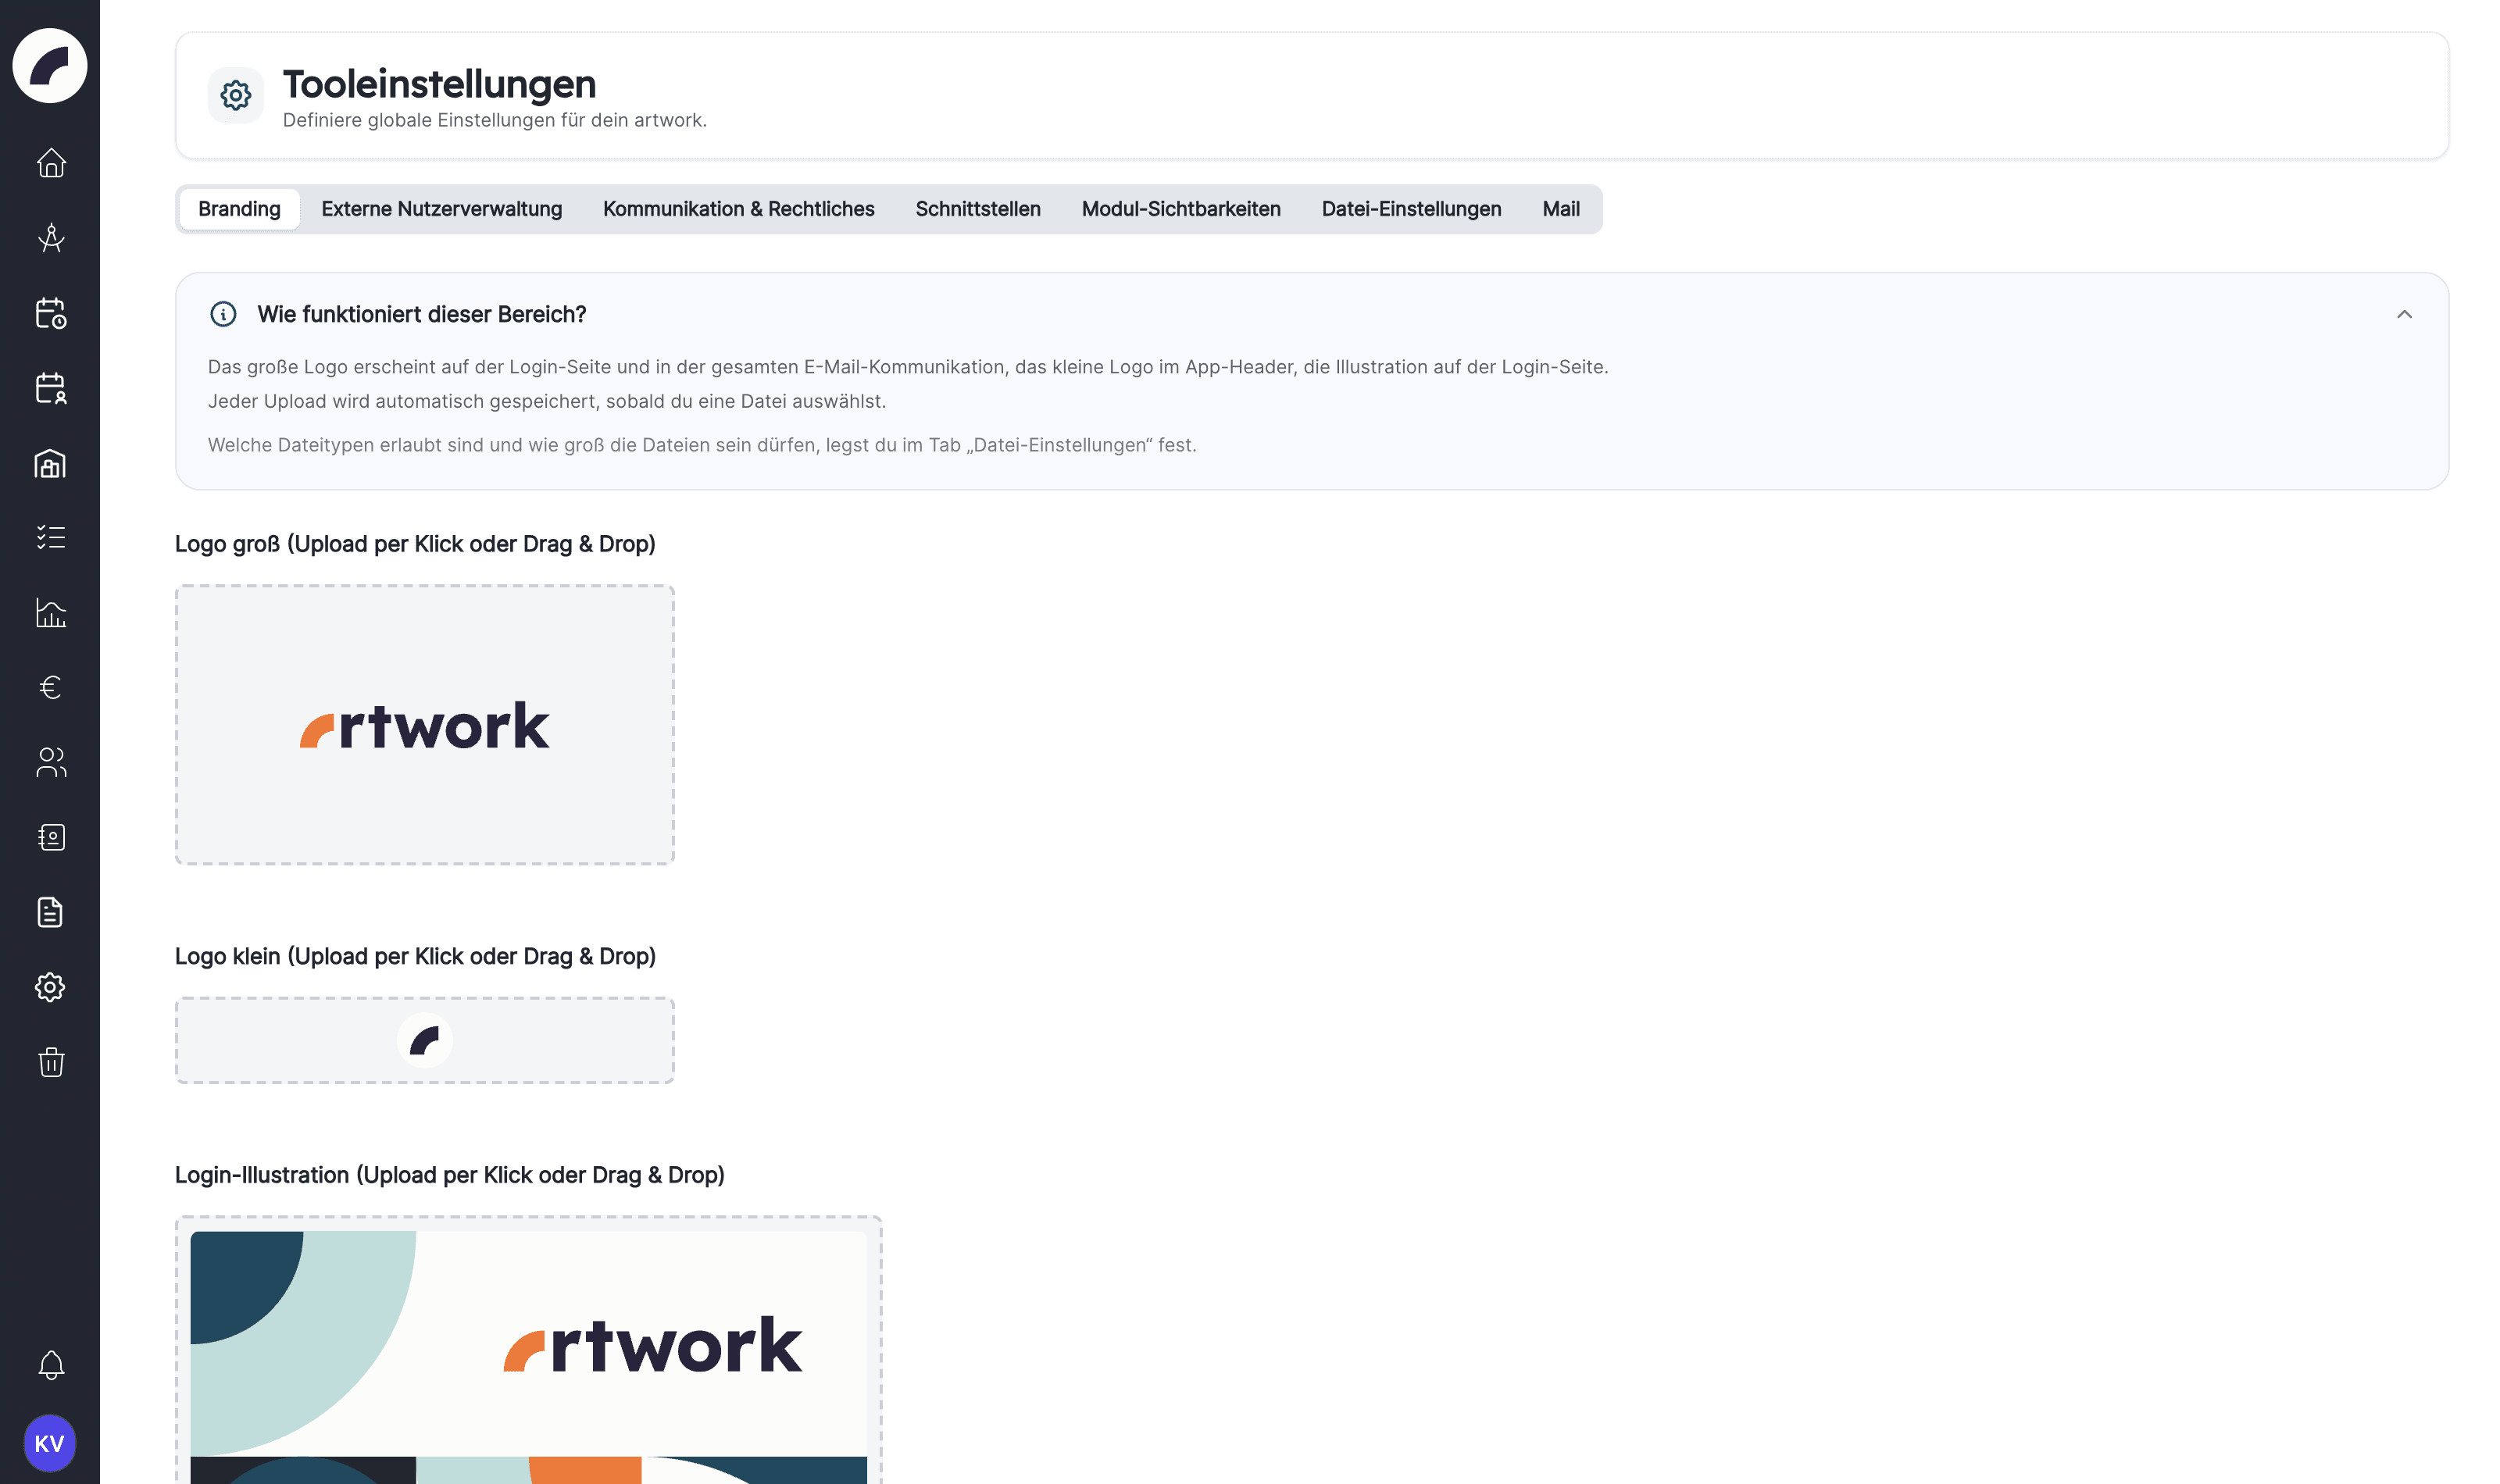
Upload three central graphics:
| Graphic | Use |
|---|---|
| Big Logo | Login page, header of every email (200 pixels wide), expanded navigation, external access pages and PDF exports |
| Small Logo | Collapsed navigation (square, cropped at the edges) and the icon in the browser tab |
| Login Illustration | Image area of the login page |
If no big logo is stored, the email header shows the small logo.
Files can be selected or dropped onto the upload area. Only PNG, JPEG and WebP files up to 10 MB are saved. The Branding area in the File settings can restrict this further but cannot extend it. SVG files are no longer accepted for security reasons. Hint texts and the file picker name exactly these formats Coming with the next update; the page rejects any other file before the preview with the notice Only logos and illustrations of the type .jpg, .png and .webp are accepted. Artwork shows a preview and saves the selected graphic immediately. Use clear, high-contrast logo variants and then check the login page, navigation and a typical email.
Communication & Legal
This tab holds organisation-wide sender and framework details:
- Page Title: shown in the browser tab after the name of the page and used as the sender name of system emails,
- Our Organization: the organisation name, visible in your own account and when an invitation is accepted,
- Link to Legal Notice and Link to Privacy Policy as a full web
address starting with
https://; the server also rejects addresses withhttp://Coming with the next update, values already saved stay untouched. Both links appear on the login page, on the external access pages and in the footer of every email, - Invitation Email: sender of the invitation emails to new users,
- Business Email: sender of almost all system notifications. If the Mail tab has no From address of its own, emails are sent with this address,
- Email-Footer Coming with the next update: the text appears in the footer of every email above the links to the legal notice and privacy policy, with the line breaks you enter,
- Playing time window start and Playing time window end; the start must be before the end,
- the Letterhead: name, street and house number, postal code, city and email. It appears only in PDF exports, currently in the per diem statement (Per Diem Export) of artist residencies, below the big logo from Branding; empty fields are omitted there.
Fields save when you leave them if the content is valid. Email and web addresses are checked. As long as one field is marked red, the page does not save the other fields either; correct or clear it first. The season window (playing time window) is functional: it is the default period of the BI Dashboard and the BI exports and the reference for the season-related duty roster key figures (such as free Sundays and days off). If no window or an invalid one is stored, Artwork uses the current calendar year.
Do not change the season casually during reporting
A new season can shift default periods and figures. Set it deliberately at the season change and inform people preparing BI, working-time or contract reports.
Regional formats
The Regional formats tab defines how Artwork writes numbers, amounts and dates for the whole installation. Every selection is saved immediately; the Preview below shows a sample number, a sample amount and a sample date in the chosen format.
| Field | Options | Default |
|---|---|---|
| Number format | Germany, Austria, Switzerland (German), Switzerland (French), United Kingdom, United States. Defines the thousands and decimal separators. | Germany |
| Currency | EUR, CHF, GBP, USD | EUR |
| Date format | The list shows sample dates: 31.12.2026, 2026-12-31, 31/12/2026 (day first), 12/31/2026 (month first) | 31.12.2026 |
Number format and currency apply in the interface and in many PDFs and exports, for example in the budget, in BI and for sources of funding. The date format currently only takes effect in individual places of the interface, such as budget comments, sources of funding, document requests and BI snapshots. PDFs and exports keep their own date format.
The currency does not convert anything
The selection only changes how amounts are written. Values already entered remain the same numbers. Houses in Switzerland set CHF here once.
External user management
In the interface this tab is called External User Management. Artwork can obtain user accounts from a central source:
- LDAP/Active Directory for directory services,
- OIDC/SSO for login through an identity provider.
Only artwork admins may add, edit, activate and delete sources. With the permission Tool settings alone you see the sources and can use Test Connection and, for LDAP, Sync now. The collapsible box How does the external user management work? at the top of the tab summarises the following rules in the interface.
A source has a name, a type, the Active switch and a Default Role that newly created accounts of this source receive.
If Group Mappings are stored for a source, its card lists the names of the directory groups that grant permissions and roles in Artwork, marked "including nested groups" where subgroups count as well. The list is display only: the interface of version 1.10 has no dialog for creating or changing group mappings. Ask the people who run your installation technically.
How accounts are created and linked
- OIDC: The account is created on the first successful sign-in through the SSO button on the login page.
- LDAP: The account is created on the first login through the normal login form with email address and directory password, or in advance by the synchronisation.
- Synchronisation: It runs automatically every 30 minutes and on demand with Sync now. It imports everyone the user filter finds. Newly imported people receive a one-time welcome email. An inactive source cannot be synchronised.
On every login and every synchronisation Artwork checks in this order:
- If the identity is already known by its stable ID at the provider, the linked account is used and its name and email address are updated.
- Otherwise, if an Artwork account with the same email address exists, it is linked to the provider. It keeps all roles, permissions and assignments. With OIDC this only happens if the provider reports the email address as verified.
- Otherwise a new account is created with the default role of the source.
The email address only counts for this first link. Afterwards Artwork recognises the account exclusively by the stable ID. An account can be bound to one provider only; if the address belongs to an account of a different provider, the login is rejected. People deleted in Artwork are not created again, neither by the synchronisation nor by a login. Anyone who should regain access is invited again.
What changes for linked accounts
- Password login and Forgot your password? in Artwork are disabled for these accounts; the password lives at the provider. OIDC accounts sign in through the SSO button only.
- For LDAP the directory takes precedence: if Artwork finds the email address in an active directory, only the directory password counts. People who are not in any directory keep logging in with their Artwork password.
- In the user overview, linked accounts carry an SSO badge; its tooltip names the provider.
- Users signed in via OIDC do not stay signed in permanently: once the session expires, they must sign in again through the identity provider.
Group mappings are applied on every LDAP synchronisation. If a person leaves the group, or a mapping is deleted or changed, the next run revokes the permissions and roles granted through it. Whatever a person had already received by hand remains.
Deactivating or deleting a source blocks sign-in
Linked accounts have no local password. If their source is deactivated or
deleted, these people can no longer sign in until the source is active
again. The accounts themselves are kept. For this reason the last admin who
can still log in locally cannot be bound to a provider. In an emergency
your IT can reset a single account to local password login on the server
with the command php artisan auth:break-glass.
LDAP source
LDAP requires server, port, base, service account, filter and security options. New sources use Use StartTLS by default; alternatively, Use SSL (LDAPS) is available. If both are off, the source warns that passwords are sent to the directory in clear text. After an update, check whether your LDAP server supports StartTLS and test the connection. The connection test in the dialog lists the first users found, so you can judge the filter right away.
Allowed Email Domains are optional. If set, the synchronisation and the login only accept people with an address from these domains.
OIDC source
Under Provider you choose Google, Microsoft or Custom.
Microsoft requires your own Tenant ID; the generic values common,
organizations and consumers are not accepted because any Microsoft
account could sign in through them. Custom requires the Discovery
URL. It must start with https:// and be publicly reachable; addresses
in private network ranges are rejected.
For every provider you enter Client ID, Client Secret and the
Allowed Email Domains. Only Custom adds the requested scopes
(default: openid, profile, email), the Identifier Claim and the
Groups Claim; for Google and Microsoft they are fixed. Only the
immutable identifiers sub (default) and oid can be chosen as identifier
claim.
Under Allowed Email Domains you enter the domains of your users, such
as house.org, not the address of your Artwork installation. Only
identities with an address from these domains may sign in. An active OIDC
source needs at least one domain, otherwise it cannot be saved.
The option Trust email addresses from this identity provider controls when new accounts are created: without it, Artwork only creates an account if the provider reports the email address as verified. Microsoft Entra usually does not send this confirmation. Enable the option only if the connection is limited to your own tenant or directory.
The redirect address (redirect URI) shown in the dialog after saving must be registered with the identity provider exactly as shown, otherwise the provider rejects the login. Stored service passwords and client secrets are never displayed again; they must be re-entered on every edit of a source.
Change only with IT ownership
Incorrect filters, identifiers or domain rules can omit, duplicate or unintentionally admit accounts. Treat service passwords and client secrets as credentials, test the connection and validate changes with selected accounts first.
Interfaces
Artwork API
The Interfaces tab has up to three collapsible sections: Artwork interface, Webhooks and Sage interface.
The Artwork interface manages API keys with a name, permissions, creation and expiry date, and status. A new key is shown in full only when it is created. Copy it immediately into the intended protected password or secret store. Expired or revoked keys no longer work; Revoke cannot be undone. Log shows the requests made with each key, with date, IP address, method and URL. This tells you whether a key is still in use before you revoke it.
Use a separate named key for each connected system. This lets you revoke one integration without interrupting others. Never share keys in unsecured email or chat messages.
The Artwork API page describes the permissions a key can have and the data the interface provides.
Webhooks
A webhook sends data from Artwork to another system as soon as something happens. In the webhook section of the tab you use Add endpoint to create targets with a name, URL and subscribed events, review the deliveries under Log, and redeliver failed deliveries with Send again. The Active switch on an endpoint pauses its deliveries without deleting it. The permission Manage webhooks is sufficient for this; the other sections of the tab still require Tool settings. Anyone who only holds Manage webhooks finds the entry Interfaces in the System menu instead of Tool Settings Coming with the next update, which leads straight to this tab; the other tabs stay hidden for that person.
- URL: It must start with
https://and be publicly reachable; addresses in private network ranges are rejected. For intranet installations, check in advance whether the configured targets are still accepted. - Endpoint secret: It is shown only once when the endpoint is created. Store it in the receiving system right away.
- Signature: Every delivery is signed. The receiving system verifies
the header
X-Artwork-Signatureassha256=HMAC_SHA256(timestamp + "." + body, secret); the timestamp is sent in the headerX-Artwork-Timestamp. - Retries: A failed delivery is retried up to five times, after 1 minute, 5 minutes, 30 minutes, 2 hours and 6 hours. The log shows date, event, number of attempts and status for each delivery.
- Deleting: Deleting an endpoint also removes its logged deliveries.
In version 1.10 only the test event webhook.test can be subscribed to.
Your IT triggers it on the server with php artisan webhooks:ping to check
reachability and signature.
Sage interface
If available in your installation, the Sage integration can import bookings automatically into project budgets. The Sage interface section only appears if Sage settings have already been created for your installation; otherwise contact your technical support. It stores host, endpoint, user, password, initial booking date (Query data from this booking date), daily retrieval time (Query daily at) and the Interface enabled switch.
Save interface settings asks for confirmation and then tests the connection. If the test fails, an error message appears; the values you entered are saved nevertheless.
The daily retrieval only runs if Interface enabled is ticked and the integration has also been enabled on the server. Without a time it starts at 08:00. It fetches all bookings from the initial booking date onwards. After every import this date moves forward automatically to the last imported booking date, so the next run continues from there.
Only https:// addresses are accepted as Host. An existing http
connection keeps running but requires an https address the next time you
save.
The stored password is no longer displayed: leave the field blank to keep it, or enter a new one to replace it. If you change the host, you must enter the password again. The option Verify TLS certificate of the Sage server is enabled by default and should stay that way. Only disable it deliberately if your Sage server on an internal network uses a self-signed certificate, because the connection fails otherwise.
Authorised users can also:
- start the retrieval again right away: the round refresh icon next to Execute data retrieval from Sage again. Like the daily retrieval it starts at the initial booking date. For a complete retrieval, clear this field first and save,
- under Import a specific booking date, import data for a cost center (KTR), a period (From, Until) or both. Without Until only the day in From is imported,
- under Delete bookings, delete bookings by cost center and/or period. Unassigned records are always deleted, assigned ones only with the checkbox Also delete already assigned records. Artwork asks for confirmation first,
- use Open protocol to review the import and deletion runs and export each run as CSV,
- under Column Order, define the meaning and order of the first two budget columns.
Import and deletion change budget data
Targeted imports can overwrite existing data. Deleting assigned records directly affects project budgets. Before large corrections, agree a review plan and inspect the Sage log and affected projects.
The trash icon at the top deletes all Sage data
At the top right of the section, next to the refresh icon, there is a trash icon. It deletes all imported Sage bookings: unassigned ones, already assigned ones and their comments. It only works when the interface is set up and no import is running, and it asks first in the dialog Delete all Sage data Coming with the next update. The deletion cannot be undone. For targeted deletion use the Delete bookings section.
Module visibility
In the Module visibility tab each of these modules can be switched on or off as an entry of the main navigation: Projects, Calendar, Shifts (the duty roster), Inventory, Tasks (to-dos), Money Sources (sources of funding), Users, Contracts (the Documents menu item), CRM, Planning Calendar and Business Intelligence. Clearing a checkbox hides the corresponding navigation entry immediately for all users until the module is re-enabled.
Hiding is more than a hidden menu entry: the pages of the module are blocked as well, direct links included. Two exceptions:
- artwork admins still see and reach hidden modules. Only the planning calendar is blocked for admins too while it is switched off.
- Your own account and project pages stay reachable: without the Users module you can still open your account and your operational plan, and without the Projects module project pages that other modules need keep working. In both cases only the overview page is blocked.
Hiding a module does not delete its data and does not change any permissions; everything reappears as soon as the module is switched on again. It does interrupt work, because users can no longer reach the area. Inform the team and check dependent links, roles and workflows first.
File settings
In the File settings tab you define for the four upload areas Project, Room, Branding and Contract:
- which file types are accepted,
- the maximum size of one file, from 1 to 1024 MB, via the slider or as a number in the field next to it. The value is saved when you release the slider, leave the field or press Enter; Artwork resets a rejected value to the saved state.
Allowed types appear as tags and can be removed individually. The selection
list Select file types adds types Coming with the next update. In the
Project, Room and Contract areas it offers image formats (PNG, JPG, JPEG,
GIF, BMP, ICO, TIFF, WebP, AVIF), the entry * for all file types as well
as documents (PDF, TXT, CSV, JSON), Office formats, archives (ZIP, RAR),
audio, video and font formats. A removed type can thus be added back
individually. In the Branding area only PNG, JPG, JPEG and WebP are
offered, exactly what the branding upload accepts. The list does not offer
executable or active formats such as EXE, MSI, CAB, JS, CSS or SWF; settings
already saved with such types remain valid.
The setting affects future uploads in that area; Replace file and files on sources of funding follow the same rules. Existing files are not automatically converted or deleted. The Project area also applies to uploads by external people in shared project tabs (see External access).
Default lists
New installations start with these lists and a limit of 150 MB per area. When updating to version 1.7.8 the four lists are reset to them once, while the size limits remain unchanged:
| Area | Allowed by default |
|---|---|
| Project, Room, Contract | Documents (PDF, TXT, CSV), Office formats (DOC, DOCX, XLS, XLSX, PPT, PPTX), archives (ZIP) and images (PNG, JPG, JPEG, GIF, WebP) |
| Branding | Images only (PNG, JPG, JPEG, WebP) |
If you had allowed further types before the update, such uploads have been rejected with a message since then. You can add such types again from the selection list.
File types always rejected
HTML, SVG, XML, PHP and similar active or executable content is not accepted
at any upload location, even if an area allows all types with *. They cannot be
added to the lists. Both the file extension and the actual content are
checked; the stored extension follows the content, not the file name. Profile
pictures, key visuals and all branding images accept images only.
Server limit and error messages
The page shows how many MB per file the server currently accepts and warns when a slider is set above it: values above the server limit only take effect after IT raises the server settings. In the upload dialog, users see a clear message when a file is too large (including the applicable limit), when its format is not allowed in the area, or when its type is always rejected.
Allow only formats your users need and your security rules permit. A limit that is too low blocks legitimate files; a very high one increases storage and transfer requirements.
The Mail tab defines which mailbox Artwork uses to send all emails:
invitations, notifications, summaries. Empty fields fall back to the server
configuration (.env); the effective fallback values are shown below each
field.
Anyone with the permission Tool settings can view the tab. Only artwork admins may Save and send test emails; everyone else sees the fields locked with the note "Only administrators can change the mail settings and send test emails." The reason: whoever controls the mail server can read invitation and password links.
| Section | Fields |
|---|---|
| SMTP server | Host, Port (1–65535), Encryption (Fallback (.env), TLS for STARTTLS, SSL for implicit TLS), Username, Password. The password is never displayed; an empty field keeps the stored password, and the checkbox Remove stored password (fall back to the server configuration) deletes it. |
| Sender (From) | From address and From name. When set, they apply to all outgoing mail. If left empty, Artwork uses the Business Email from Communication & Legal and the name of the respective notification. |
| Test mail | Recipient (prefilled with your address) and the Test mail button. Only saved settings are tested, so save your changes first. |
User name and password belong together
Both come either from this tab or both from the server configuration; Artwork does not mix them.
- If you enter a Username, enter its Password too. Without a password the settings cannot be saved.
- If you leave both fields empty, Artwork logs in with the access data from the server configuration. This only applies while the Host is also the same as there. For a different host the server's access data are never used; enter them here in that case.
- If you change the Host, enter the password again. The stored password belongs to the previous server and is not sent to a new one.
Below the access data the page states how the saved state sends:
| Note on the page | Meaning |
|---|---|
| "login with the user name and password stored here" | The access data from this tab apply. |
| "login with the access data from the server configuration (.env)" | No user name is entered here; the server's access data apply. |
| "emails are sent without login. Many mail servers reject this." | There are no access data, neither here nor on the server for this host. |
| Red note "A user name is stored but no password." | The mail server will reject the login. Enter the password. |
The browser does not fill in user name and password with your Artwork login. Enter the access data of the mailbox by hand.
Saving and testing
Changes take effect immediately after Save, including for mails already in the queue. The test mail uses the same server and the same sender as real mails. If it fails, the page names the cause as far as the mail server reports it:
| Message | What to do |
|---|---|
| The mail server rejected the login | Check user name and password |
| The mail server rejected the sender address | Enter a sender address the mailbox may send from. Without a From address of its own this is the Business Email. |
| The mail server only accepts emails after login | Enter user name and password |
| The TLS certificate of the mail server could not be verified | Check host and encryption, clarify the mail server's certificate with IT |
If the server cannot be reached at all, the message stays generic; the technical cause is then in the server log.
Safe change sequence
- Record the objective and affected users.
- Involve IT and privacy for integrations, SSO and file rules.
- Securely document existing values and credentials.
- Make the smallest change and test the connection or display.
- Run through one complete typical user workflow.
- Inform the team and assign ongoing ownership.
Last updated on